b l o g
f e b r u a r y 2 0 2 1
Collection of planting material is the first step in preparing to plant pineapple
By Aad Van Santen, Lead Author of Pineapple Production In Vanuatu
The first step in preparing to plant pineapple is to collect your planting material; you can refer to our earlier session on Pineapple Planting Material.
Tops
Pineapple tops are the easiest to collect as they are often removed at the market or on the farm during harvest. The tops can be stored in heaps on the farm until the time of planting.
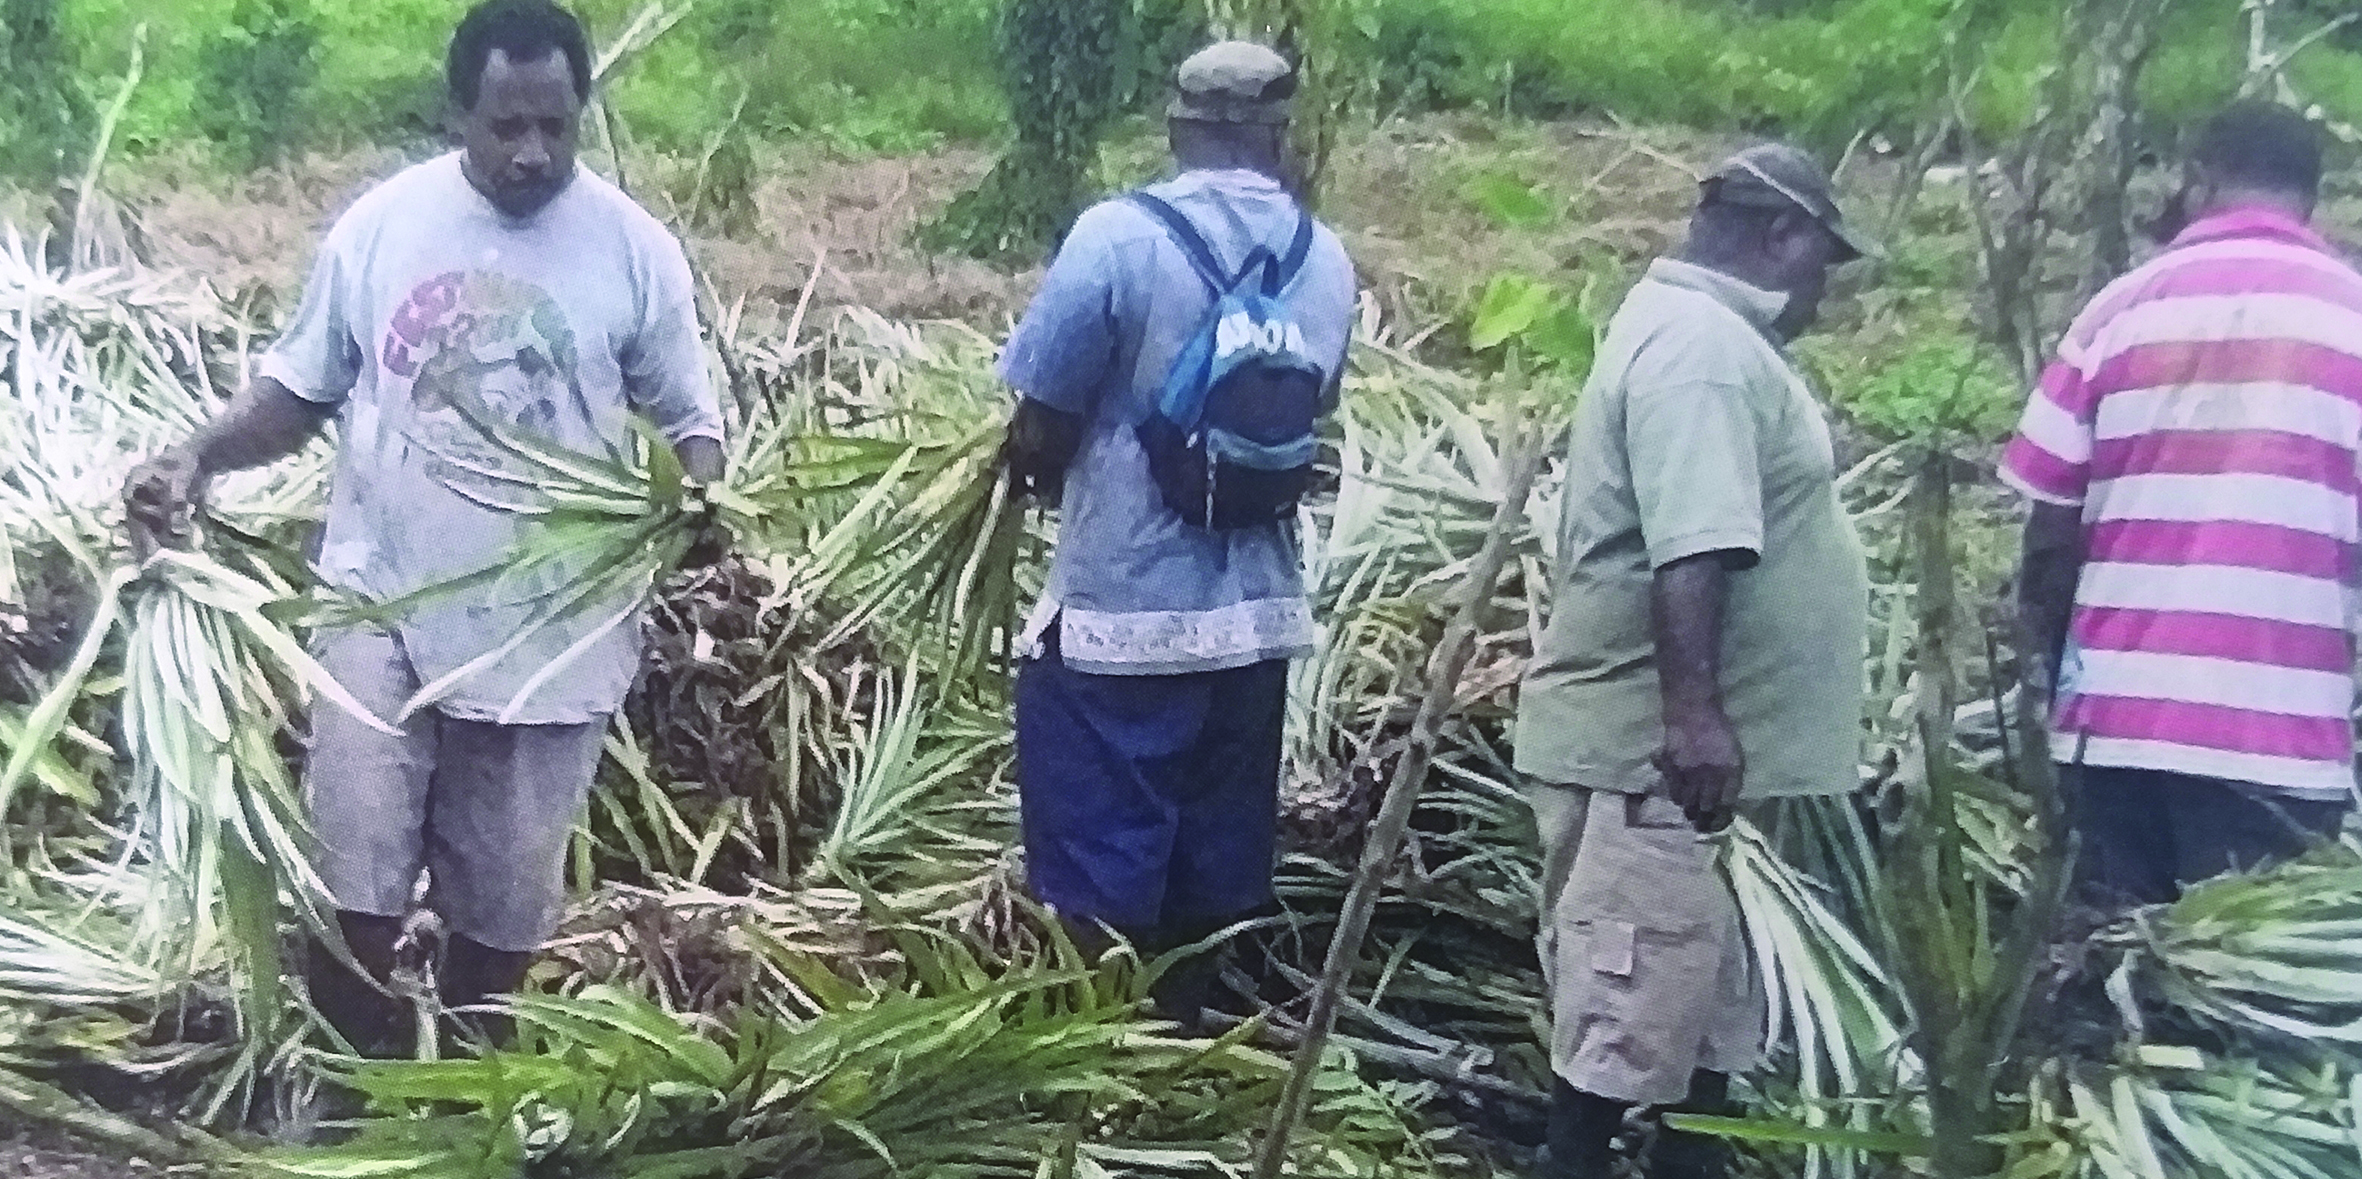
Suckers and Hapas
This planting material is picked a few weeks after harvest when the suckers/hapas are of required size. The shoots are carefully pulled from the mother plant, by holding the shoot as low as possibly by its base and twisting the shoot away downwards from the mother plant.
If another ratoon crop is required, normally at least one shoot is left on the mother plant. The shoot attached lowest on the plant is left for the ratoon crop, while the higher shoots are picked for planting. However if a shoot is much further developed than the rest of the shoots in the field, it is best to remove this shoot also for planting, even if only one is only on the plant.
If a restraint in planting material for further expansion is a bottleneck for further development of the plantation, all developing suckers in a harvested field can be collected and used for planting. This will mean however that the farmer must wait for development of new buds/shoots and the next ratoon crop will be delayed for a few months. It will also mean, that the shoots for the next ratoon crop will develop on a higher place of the old mother plant stem, often resulting in increased lodging (falling over the young plant) when it bears fruits. This risk of lodging can be reduced by picking suckers and hapas as early as possible, which will cause quicker development of the new shoots, and as such development of shoots on a lower place of the mother plant.
Suckers and hapas bigger than 600g should be avoided as they have often already formed a flower bud on the mother plant or will form a flower bud when suffering some strain after being removed and planted – this is especially the case if collected during the natural initiation of flowering periods (this is between mid-May and late July in Vanuatu). These plants will produce small and unacceptable size fruits.
Smooth Cayenne produces on average not more than 1 or 2 suckers or hapas per plant, or sometimes none at all, and as such is a poor plant material provider. Ripley Queen and Singapore Spanish will produce at least 3 suckers and hapas. The variety known in Vanuatu as ‘Veimama’ produces more suckers and hapas than the Smooth Cayenne, but not as plentiful as the Ripley Queen.
Slips
This planting material can be collected immediately after harvest, since slips will not develop more on the fruit stem after fruit is mature. Only slips developed under the fruit base are used for planting if only one or two slips have formed at the base of the fruit. If numerous slips are formed on the fruit base of this plant, these slips should not be used for planting as they will produce inferior quality fruit (often small in size and deformed).
If many slips have developed on a fruit stem, the slip size will be small. It is best to collect slips that have developed from stems with only 3 to 4 slips/ stem which results in more uniform slip size.
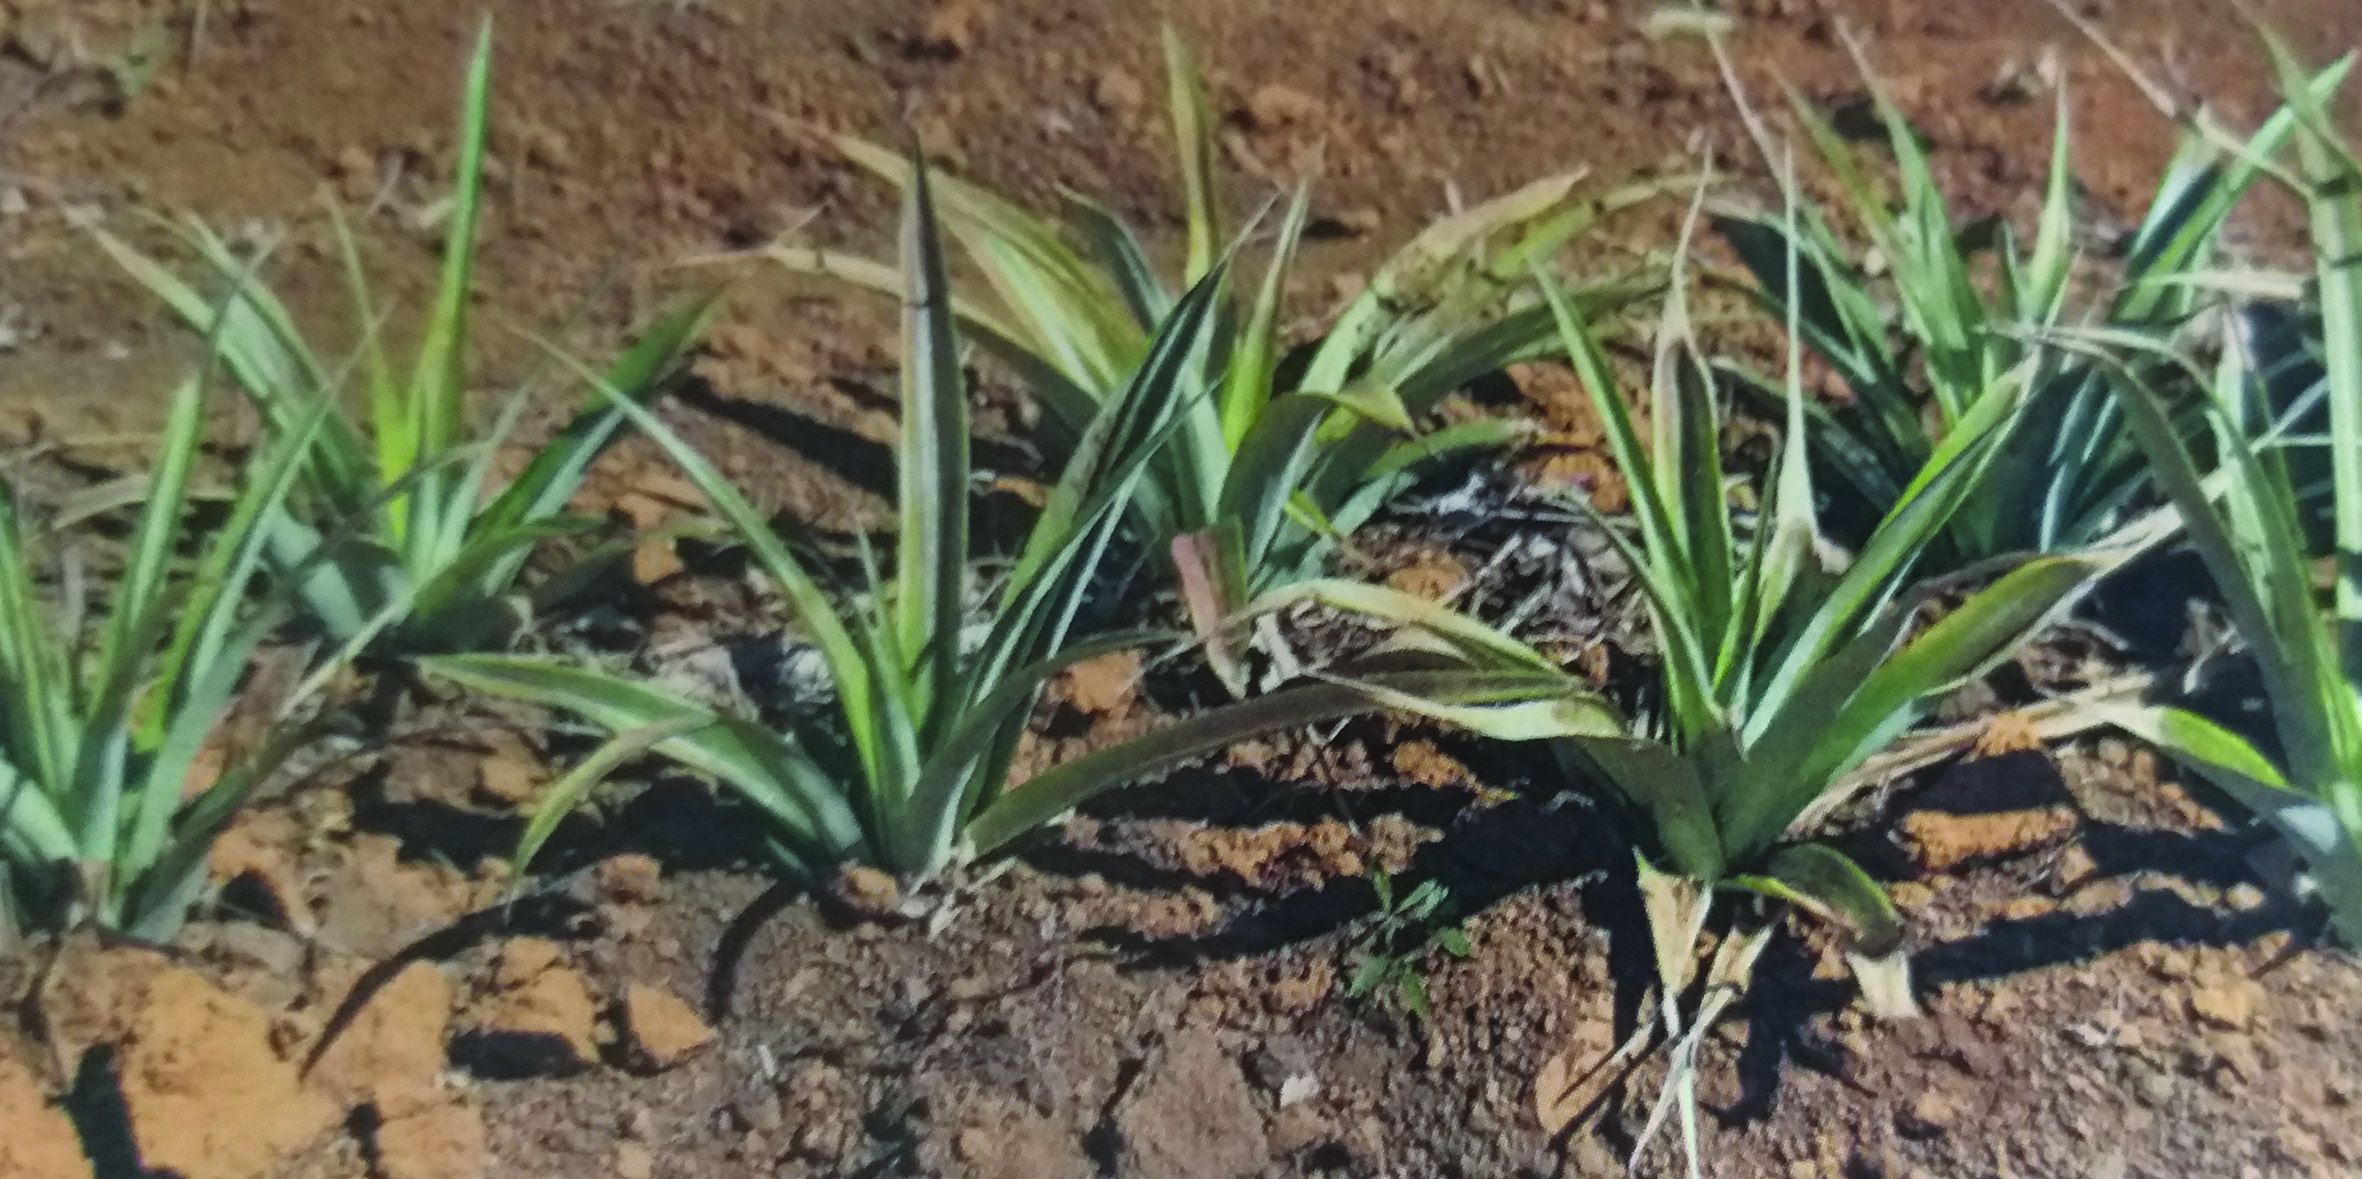
Nursery Plantlets
This planting material is collected from the nursery, when a multiplied bed of plantlets has an average size of 150g per plantlet. All plantlets are uprooted with a garden fork and the roots “washed” loose from each other in water. Plantlets collected from the nursery beds should be covered with wet sackcloth or similar protection against drying out. It is best to collect plantlets in the early morning and for these plants to be planted on the same day. Nursery plantlets should not be stored after uprooting for more than one day. Crop development and fruit characteristics are similar to slips of the same weight range.
Storage of planting material
Pineapple tops can be stored for about 3 weeks without a significant impact on quality. However, the longer the storage period, the less uniformity in growth (the individual planted tops will each develop at different rates.)
Suckers and hapas can be stored for several months, depending on size. The heavier the shoot, the longer it can be stored. Again longer storage will impact uniformity of the planted crop.
Nursery plantlets can’t be stored for more than one day after removal from the nursery beds.
After collection of planting material (tops, suckers, hapas and slips) allow them to cure for about one day. This will allow the wound that is formed at the place of separation from the mother plant to dry, reducing infection rates of fungal infections. This is especially true during the rainy season planting.
Planting material that is stored for longer periods must be sufficiently protected from hot sun and extreme wet conditions. For storage of planting material, ensure that plants are not stacked higher than ten plants and cover with a shading structure a few centimetres above the top of the pile using sticks and coconut leaves or something similar.
Grading
Uniformity is the key to commercial pineapple production and therefore it is very important that planting material is graded to achieve uniformity in variety and size prior to planting. As much as possible, each block/row should be planted with the variety and size of plant.
Having different sized planting material in the same bed will result in larger plants preventing the smaller plants from reaching their desired size due to competition for light, nutrient and water. It is preferable to plant smaller sized blocks, than to mix sizes or varieties of plants since this leads to unequal and heterogeneous crop development which is difficult to manage.
In all cases the planting material used should be more than 150g in weight and less than 600g in weight, with the optimum average of 250-500g of weight.
In selecting planting material from field plants, one has to make sure to collect the material from good producing, healthy plants, that have no abnormalities in fruit development, like multiple tops or abundant development of slips at the fruit base (collar of slips). Grading of planting material should start during the growing cycle with the selection of highly productive plants (positive selection) or removal of unwanted types like multiple crown/collar of slips/very small fruit (negative selection).
When selecting tops, grading for fruit quality is simple because the fruit is easily visible. However for selection of suckers and hapas, plants with inferior fruit should be removed and destroyed or at least marked with paint, when the fruit is harvested from this plant, so that this plant will not be used for planting material collection – this is called rogueing . Similarly plants with excellent production characteristics can be marked separately with a different color paint, to mark best sources of planting material collection.
Only slips developed under the fruit base are used for planting of if only one of two slips have formed at the base of the fruit. If numerous slips are formed on the fruit base of this plant, these slips should not be used for planting as they will produce inferior quality fruit (often small in size and deformed).
If many slips have developed on a fruit stem, the slip size will be small. It is best to collect slips that have developed from stems with only 3 to 4 slips/stem which results in more uniform slip size. Plants producing fruits with numerous small slips should be removed immediately after harvest or clearly marked so that these plants are not used for planting material selection.
Collecting planting material should be graced by:
(1) Variety – Smooth Cayenne, Singapore-Spanish, Ripley Queen, Abacaxi, or Veimama
(2) Type of plant parts – tops, suckers and hapas, slips or nursery plantlets
(3) Size and weight of different planting material – especially for hapas and suckers where this is often great variability.
To obtain uniform growing units of planted suckers or hapas, this planting material can be graded by average weight groupings of: 250-300g, 300-350g, 350-425g, and 425-500g.
An average weight range for slips used for planting is between 150-250g. They can be graded in two groupings: 150-200g and 200-250g to obtain uniformity in the field.
Time of planting
In principle planting can be done, and preferably is done, spread over the whole year. Spreading your planting throughout the year will help enable you to also harvest throughout the year. A year round harvest creates
(1) A more secure market, especially for export
(2) A more equal spread income over the year and
(3) A spread of work load
However, not in all cases is planting advised throughout the year, since a certain amount of rain is required to allow the newly planted crop to start growing. A minimum of 50mm rain or other water supply per month is needed to ensure a good start of newly planted pineapple ( equivalent to 500,000 liters of water per ha).
For the drier regions in Vanuatu, the months of June, July and August (and in some places even May and September), planting may not be favorable because of very low levels of rainfall.
In some cases, a farmer may not have any choice but plant in the dry season, in this case it is important to understand that without water the newly planted crop will remain dormant until water becomes available. If a newly planted crop is exposed to at least one month without rain, the plants will eventually dry out and die. Planting of larger planting material, like suckers and hapas, will also offset risk during dry weather as these forms of planting material are more tolerant of resistant to water stress.
Achieving a more even harvest throughout the year can also be done through planting different sizes and types of plants at the same time.
An example of a mixed planting to spread the harvest throughout the year could include:
(1) Tops, small hapas or medium size slips, which take 18 months to develop from planting to harvest under normal growing conditions
(2) Medium and larger suckers which take 15 months to develop from planting to harvest under normal growing conditions
(3) Small slips and nursery plantlets which take 24 month to develop from planting to harvest under normal growing conditions.
This example is working on a target of 1.5-2kg/fruit of the smooth cayenne variety.
Method of planting
After the fields and beds have been prepared and planting material has been collected and graded, planting can start.
Graded planting material is transferred into the field and distributed along the beds to be planted. If transferring of planting material into the field with tractor or truck is not possible, then plants can be packed in crates or sacks with a fixed number of plants per crate/ bag. Crates or bags will help protect the planting material from drying out during this process.
Each planting bed will have two or three lines, depending on the lay-out and cropping system chosen.
Before actual planting starts, market pegs can be placed in the centre of a bed at the beginning, halfway and at the expected end of the bed, or if the line of the bed is not straight, markets at shorter distances can be placed to enable easy determination of the centre of the bed.
 Graded planting material can be transferred to the field using plastic field crates or sacks in order to protect the plants from drying out
A nylon rope of the length of the bed can then be used as planting guide with market tags at every 100cm to indicate every 4thplanting place and at the start of a 1m space for a crossing path. This planting rope, is placed along the center of the bed using the marker pegs as a guide to determine the places to plant the material with the planting rope in place. Using a system such as this, the material can be planted at the required spacing.
A measuring stick of 1.40m or 1.50m length can be used to measure the distance from bed center to bed center, if planting is done on flat beds. If ridges are used, the top of the ridges serve as center line for the beds.
First one side of the bed is planted, with one plantlet in line with each market tag on the planting tope and 10-15cm from the center of the bed. This 10-15cm can be measured using the spacing of one spread hand.
After the first plantlets are planted up to the last market tag on the planting rope, one more plantlet is planted in between the already planted material in the same line and exactly in the middle between the first planted materials.
An inline spacing of 25cm between plants is considered ideal for commercial pineapple production
Following this practice will result in an “in line spacing” of 25cm between plants.
After one side of the bed has been planted in this way, than the other side of the bed is also planted. Here the plantlets are again planted 10-15cm from the center of the bed or planting rope and at a spacing along the line, such that each plant stands half way in between the space of the plants on the opposite side of the bed. This should then result in an alternate planting pattern, with the plants forming a triangle pattern. I n this way optimum use is made of the rooting areas for the pineapple plants.
It is advisable to allow a 1m space at the end of the beds to create a ‘crossing’ to facilitate easier harvesting when the time comes.
After this first bed is planted, the subsequent other beds of a block are planted in a same way. When determining the next bed centre use a 1.40-1.50m stick for measurement from bed centre at the marker pegs as used for the first bed
Planting depth
Planting material should be planted deep enough to give good anchorage for the plant to minimize the risk of lodging (plants falling over at fruiting stage). Planting material should also be planted deep enough to receive enough soil moisture as the top 3cm of newly prepared soil is always rather dry, even during rainy seasons.
However, planting material should also not be planted too deep to prevent soil from falling into the heart of the plant which will delay development and can lead to increased disease pressure.
As a general guide, the following planting depths can be used:
(1) Nursery plantlets of about 15 grams should be planted about 4-5cm deep
(2) Slips and tops of about 250g should be planted to a depth of 6-7cm
(3) Larger suckers and hapas of about 450g should be planted to a depth of 10-15cm
For the pineapple plantlets to have optimum starting conditions, the soil around the plantlet has to be in close contact with basal stem and the roots formed in the leaf axils. To achieve this, a fine tilth of soil is required, allowing the fine soil particles to surround the plantlet base closely.
This fine tilth also allows an easy and fast method of planting, by “pushing” the plantlet base into the fine tilt soil by hand to the right depth. Coarse soil tilth doesn’t allow close enough contact with the plantlet base, and requires manual digging of planting holes, which consumes much more time as the direct pushing of plantlets into the fine tilth soil.
To ensure better contact of the soil with the plantlet basal roots and stem, the lower leaves can be removed from the planting material, which exposes the basal stem and roots. However this system increases the chance of disease development on the partly damaged plantlet base, as well as being time consuming. If the lower leaves are removed, the plantlets should be given time for the scars (where leaves were removed) to dry up, this will help reduce disease infection. This “curing” also improves the setting of callus and basic root formation on the scars, which gives a better and faster root development in the early stages. If planting is to be done in the dry periods, this method is advisable, since the little available moisture should be made available to the plant as quickly as possible
Post planting treatment
In cases of high pest or disease pressure in the field, newly planted pineapple blocks may be sprayed with an appropriate insecticide or fungicide immediately after planting. To determine pest or disease pressure and rate of chemical applications, contact your local field officer.
Immediately after planting is completed preparations should be made for weed control. The objective of early weed control is to prevent the slow growing, young pineapple plants from being overcome by the fast growing weeds.
For early and effective weed control there are basically three methods available depending on availability of materials and conditions on the farm, these methods include:
(1) Use of organic mulch material to cover the areas of bare soil between the plants and the beds – this will slow down the development of weeds.
(2) Use of plastic or other synthetic mulch to cover the areas of bare soil between the plants.
(3) Use of chemical herbicides. Chemical herbicides can be very effective in controlling weeds if used appropriately. Preventative herbicides such as Diuron or Atrazine are the most common herbicides in pineapple as they are not directly harmful to the pineapple.
Crop rotation
It is important not to plant pineapple repeatedly on the same block to prevent total depletion of soil nutrients and build-up of certain pests and diseases.
Appropriate crop rotation with pineapple can maintain the fertility of the soil and prevent the build-up on certain pests and diseases (especially nematodes).
For crop rotations with pineapple, it is important to look at crops that will help reduce the population of nematodes. Examples include: Tagetus (marigold), castor beans, and cassava. The first two examples do not provide actual farm returns, whereas cassava can provide returns in cash or as food.
It is also important to incorporate some leguminous crops like beans and peanuts into the crop rotation to increase the level of nitrogen in the soil. It is important to remember that event he rotational crops have to be supplied with nutrients according to their specific requirements to avoid “emptying” the soil.