b l o g
m a r c h 2 0 2 1
 Dendrobium orchids can be grown commercially in a shade house where the plants are in pots on benches, they can also be grown on a tree or post, which is well off the ground
With Stephen Henry, Manager of South Sea Orchids
The conditions required for optimum dendrobium orchid production are:
(1) Bright sunshine, a high percentage of the time
(2) Good drainage – native epiphytes in trees dry out within 15 minutes of rain
(3) Warm day temperatures between 24°C and 30°C with night time lows not falling below 18°C
(4) Low to moderate rainfall not exceeding 10cm monthly
(5) Good air movement but without strong winds; and,
(6) A level site with good drainage
Like anthuriums, dendrobium orchids have to be grown in a shade house on a suitable site.
Your shade house should be located in an open space, which provides for good air circulation and if possible, protection from strong winds.
No trees should be close enough to cast a shadow on the shade house. There must also be access to good quality water.
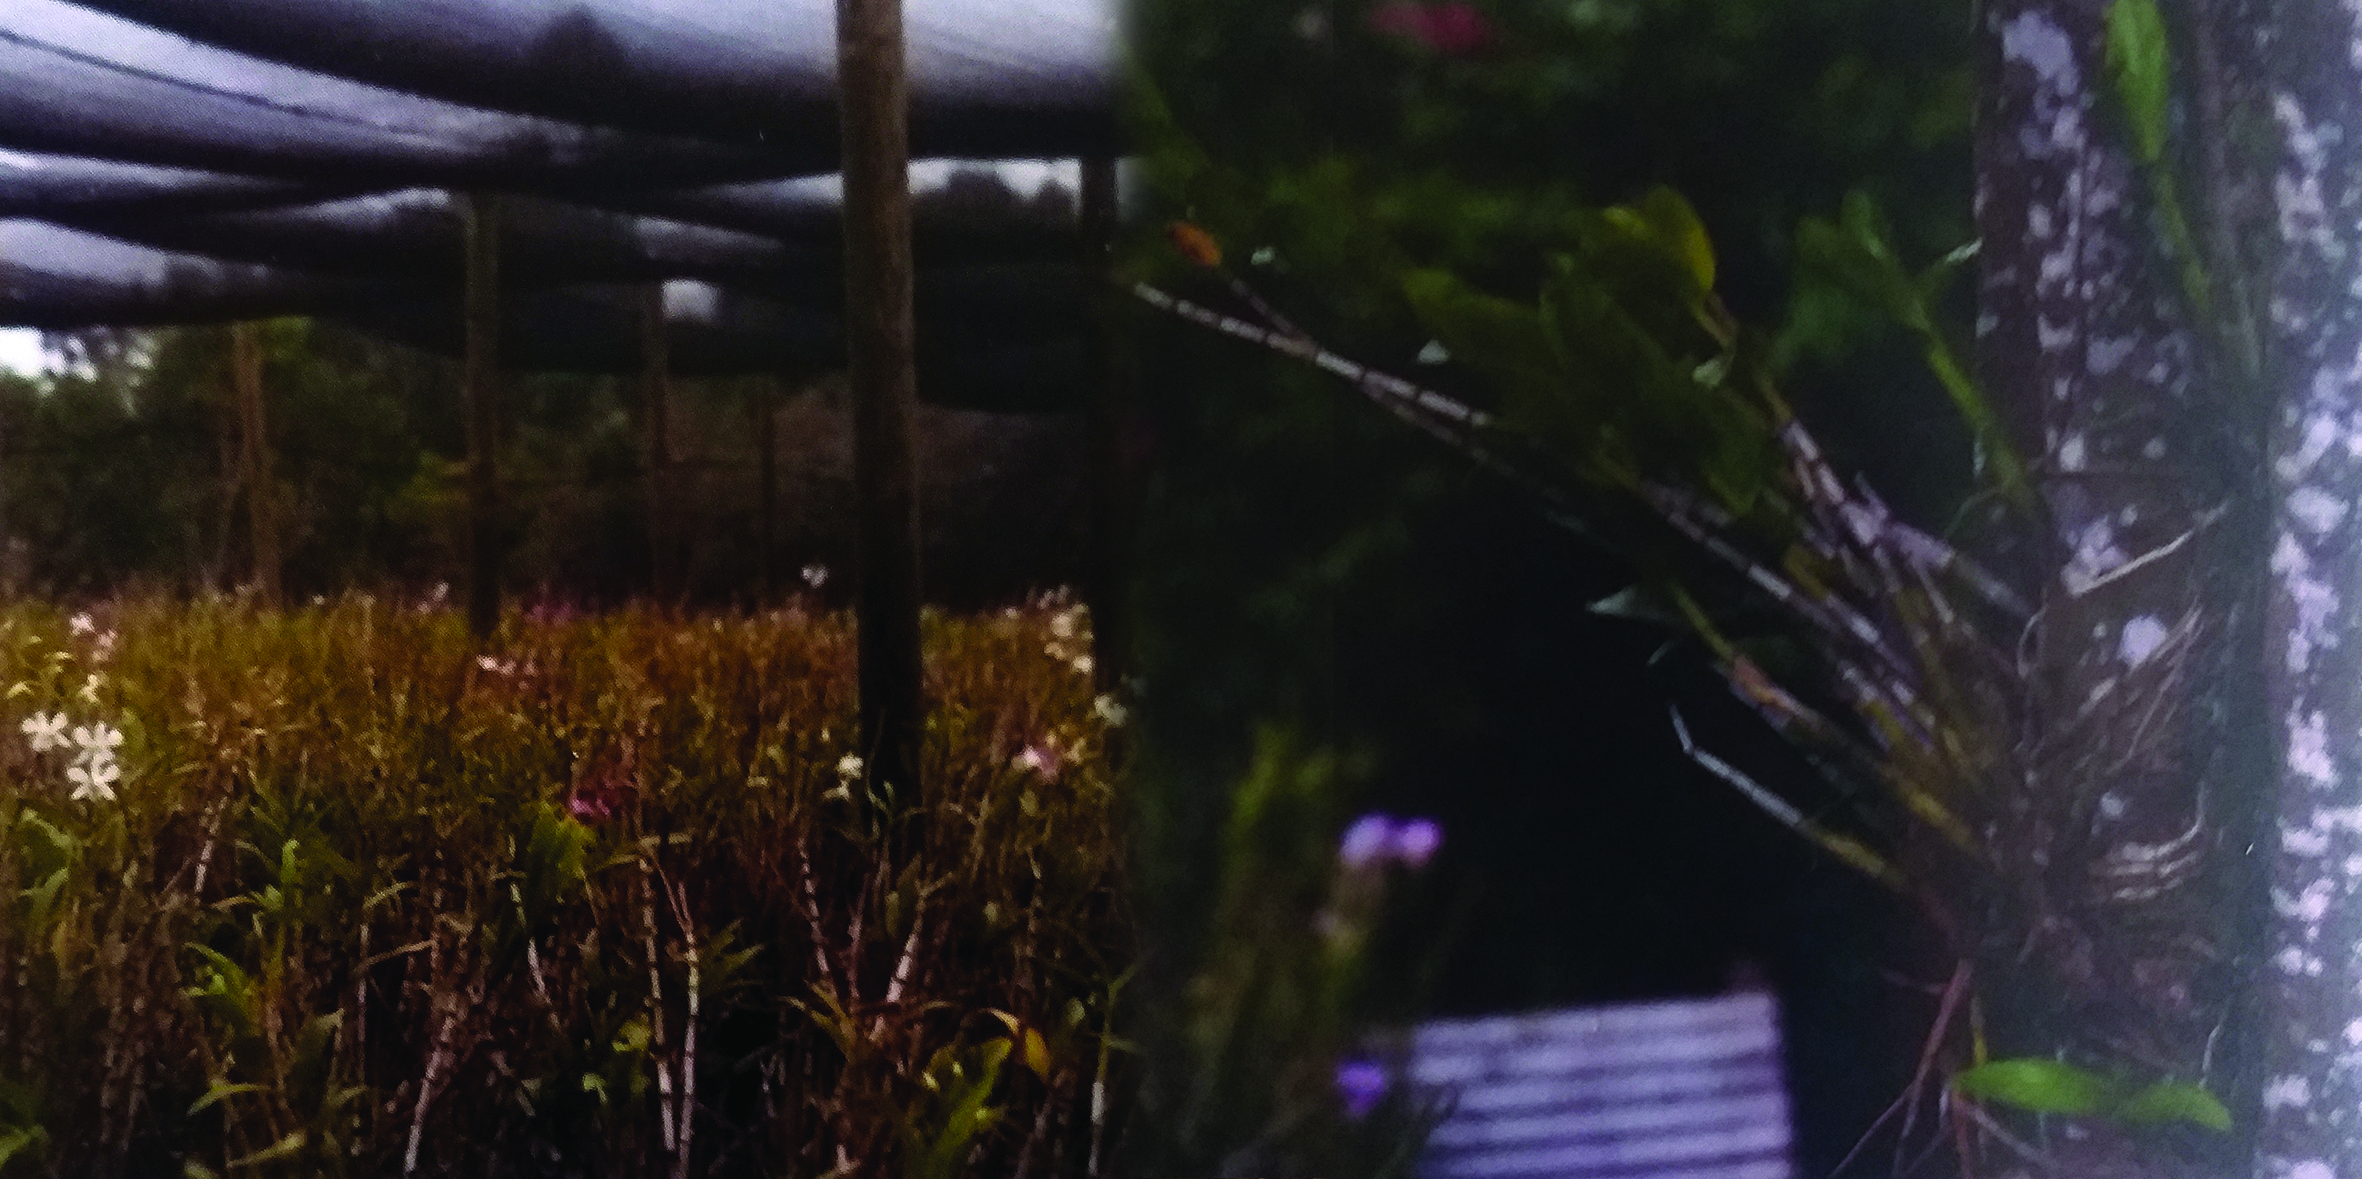
Dendrobium orchids are most commonly grown in pots, however they can also be grown on a tree or post, which is well off the ground.
If you want to plant a large amount of dendrobium orchids in a small place then a row system can be used. Simply place hardwood logs or tree fern stumps ½ meter apart and ½ meter high. One orchid should be placed on each stump.
Orchids should be attached to the stump using wire or u-nails while the roots are getting established.
Required potting mix
The planting medium used in planting dendrobium orchids has to provide similar conditions to their natural environment. Thus, “Blue metal” (basaltic gravel) is used as the planting medium. This material is readily available and relatively cheap. “Blue metal” does not degrade and can be cleaned and used over and over again.
“Blue metal” (basaltic gravel) is used as the planting medium for dendrobium orchids
Looking after your plants
Feeding your plants
Dendrobium orchids growing in the wild or wild conditions get most of their food from the air and rain water that washes down the tree or stump. Therefore these plants may grow fine with no additional fertilizer.
If growing dendrobium orchids in a shade house, it is very important to fertilize your orchids correctly so that they will be healthy and produce many flowers. Not applying enough fertilizer will stunt your plants and lower your flower yields; however, applying too much fertilizer will waste your money on healthy leaves with no extra flowers.
There are two ways in which fertilizer may be applied: as water soluble (dissolves in water) form to the leaves and roots, known as foliar fertilizer and as pelletized slow release fertilizer to the roots. Fertilizer used on crops like taro should not be used for orchids as it will burn the roots.
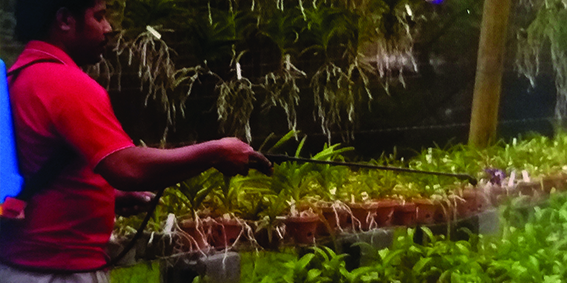 Foliar fertiliser should be applied with a knapsack sprayer to the leaves and roots
“F60” or an equivalent high Nitrogen foliar fertilizer should be applied to dendrobium orchids once a week during the growing season (November – April) and once a month during the dormant season (May – October). “F60” consists of 20% nitrogen (for healthy green leaf growth), 9% phosphorous (for strong roots and stems), 15% potassium (for fruiting and flowering), and trace elements (for all other needs).
“F67” (booster) is the foliar fertilizer applied to orchids once a week when flowering begins, it consists of 13% nitrogen, 12% phosphorous, 22% potassium, and trace elements. Foliar fertilizer is usually applied via a 6 litre pressure sprayer. The application rate is 5ml (1 tea spoon/3 litres).
Slow release fertilizer is applied at planting and then again every 6-12 months depending on the product at the rate of 10ml ( ½ table spoon) per plant. Most Fiji growers use Nutricote which contains 13% nitrogen, 5.7% phosphorous, 10.8% potassium, and 1.2% magnesium plus trace elements.
Watering requirements
Dendrobiums must be watered for best production, particularly in the dry zone. Blue metal does not hold water well so you must water your orchids once a week in normal conditions and twice a week when it is hot and dry. The most effective way for a small grower to water orchids is with a watering can or hose with a fine nozzle. (Water and fertilizer should be applied to the whole plant). Hand watering gives you the opportunity to check your individual plants for pest, disease, nutritional problems. Check that your orchid bags are draining well, if not you can add more holes or try massaging the bag.
Repotting and dividing
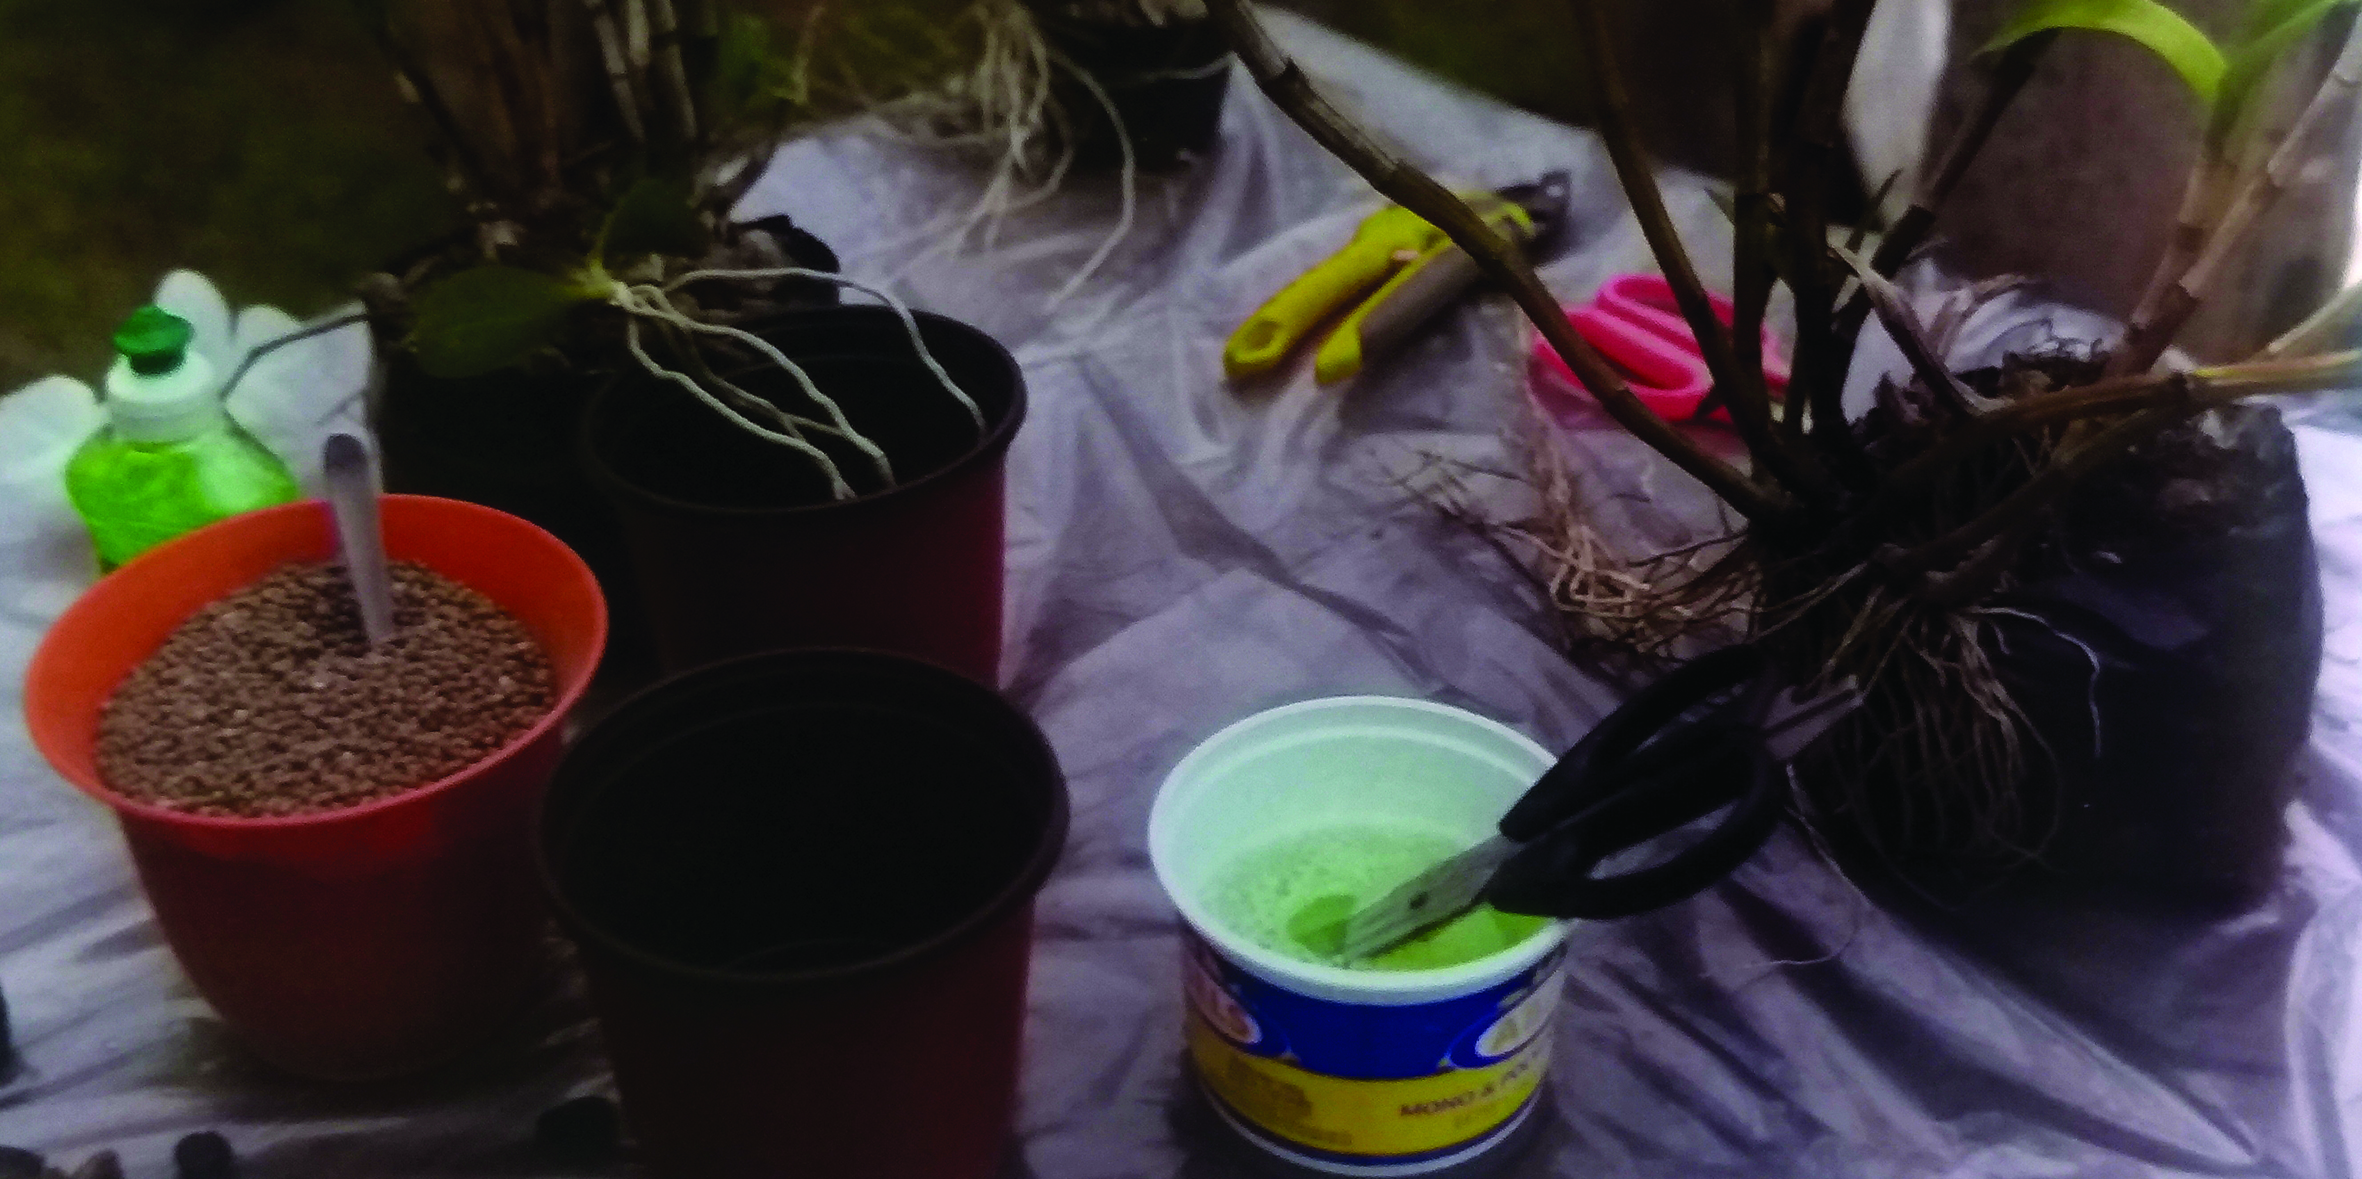
There are two basic reasons for repotting and dividing orchids: the plant has outgrown its container and/or you want to increase your number of orchid plants. The best time to re-pot orchids is in spring (September – October), when new roots begin to grow. The plant should not be flowering when it is replanted. Whilst repotting, knives and scissors need to be continually cleaned by dipping them in bleach or detergent solution.
The steps in repotting are:
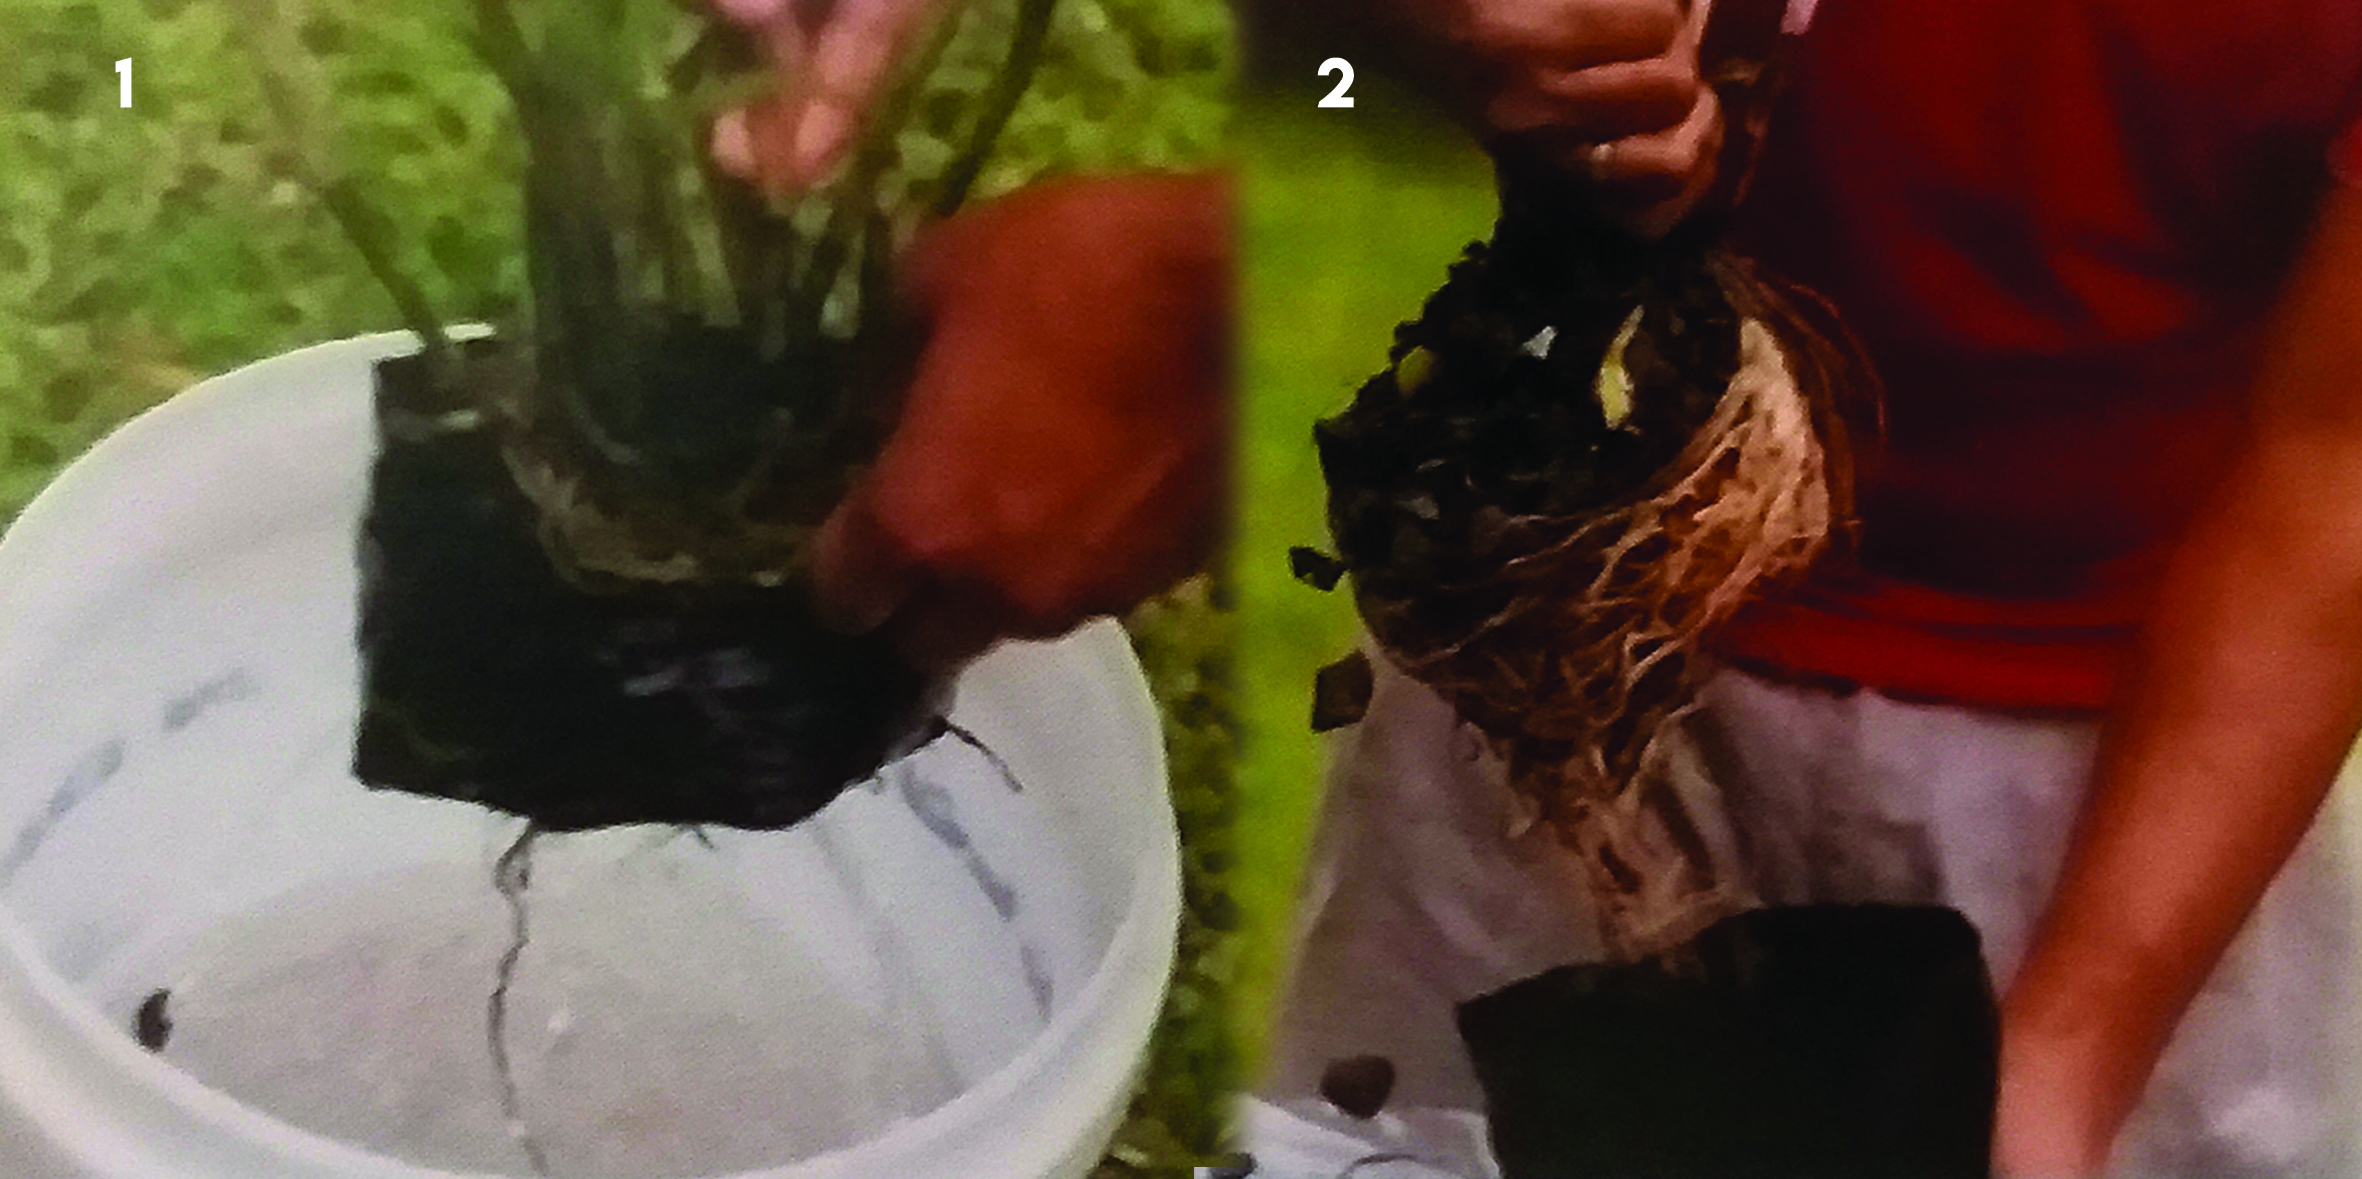
(1) Dip potted plant into water so that the roots release themselves from the rocks (2) Remove the bag and shake off rocks to expose plant roots
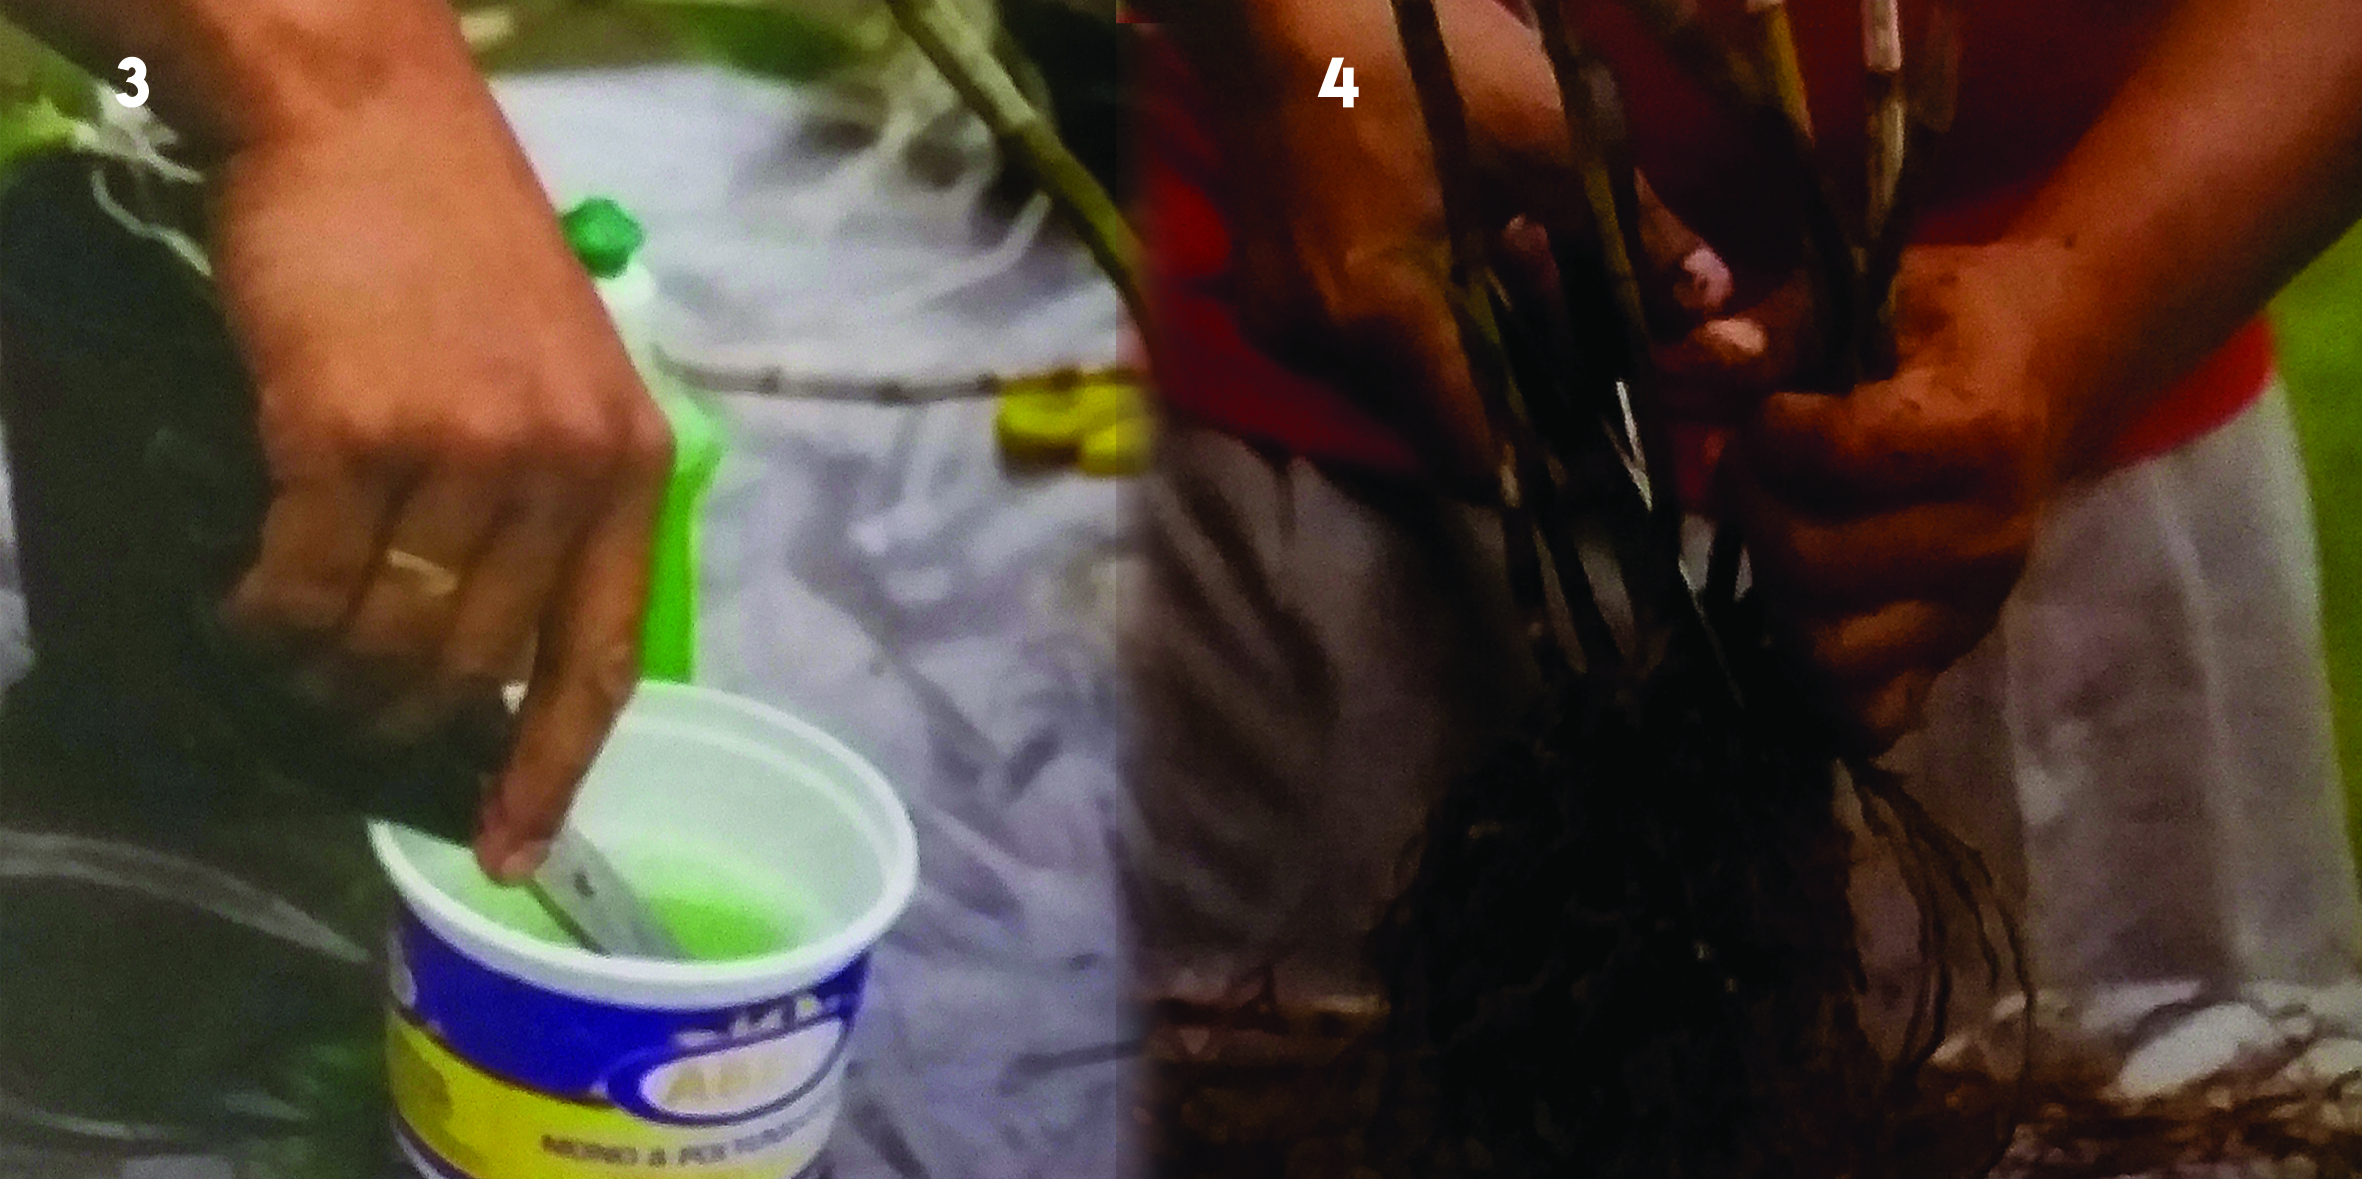
(3) + (4) With clean cutters, separate orchid systems ensuring that every stem has its own root system
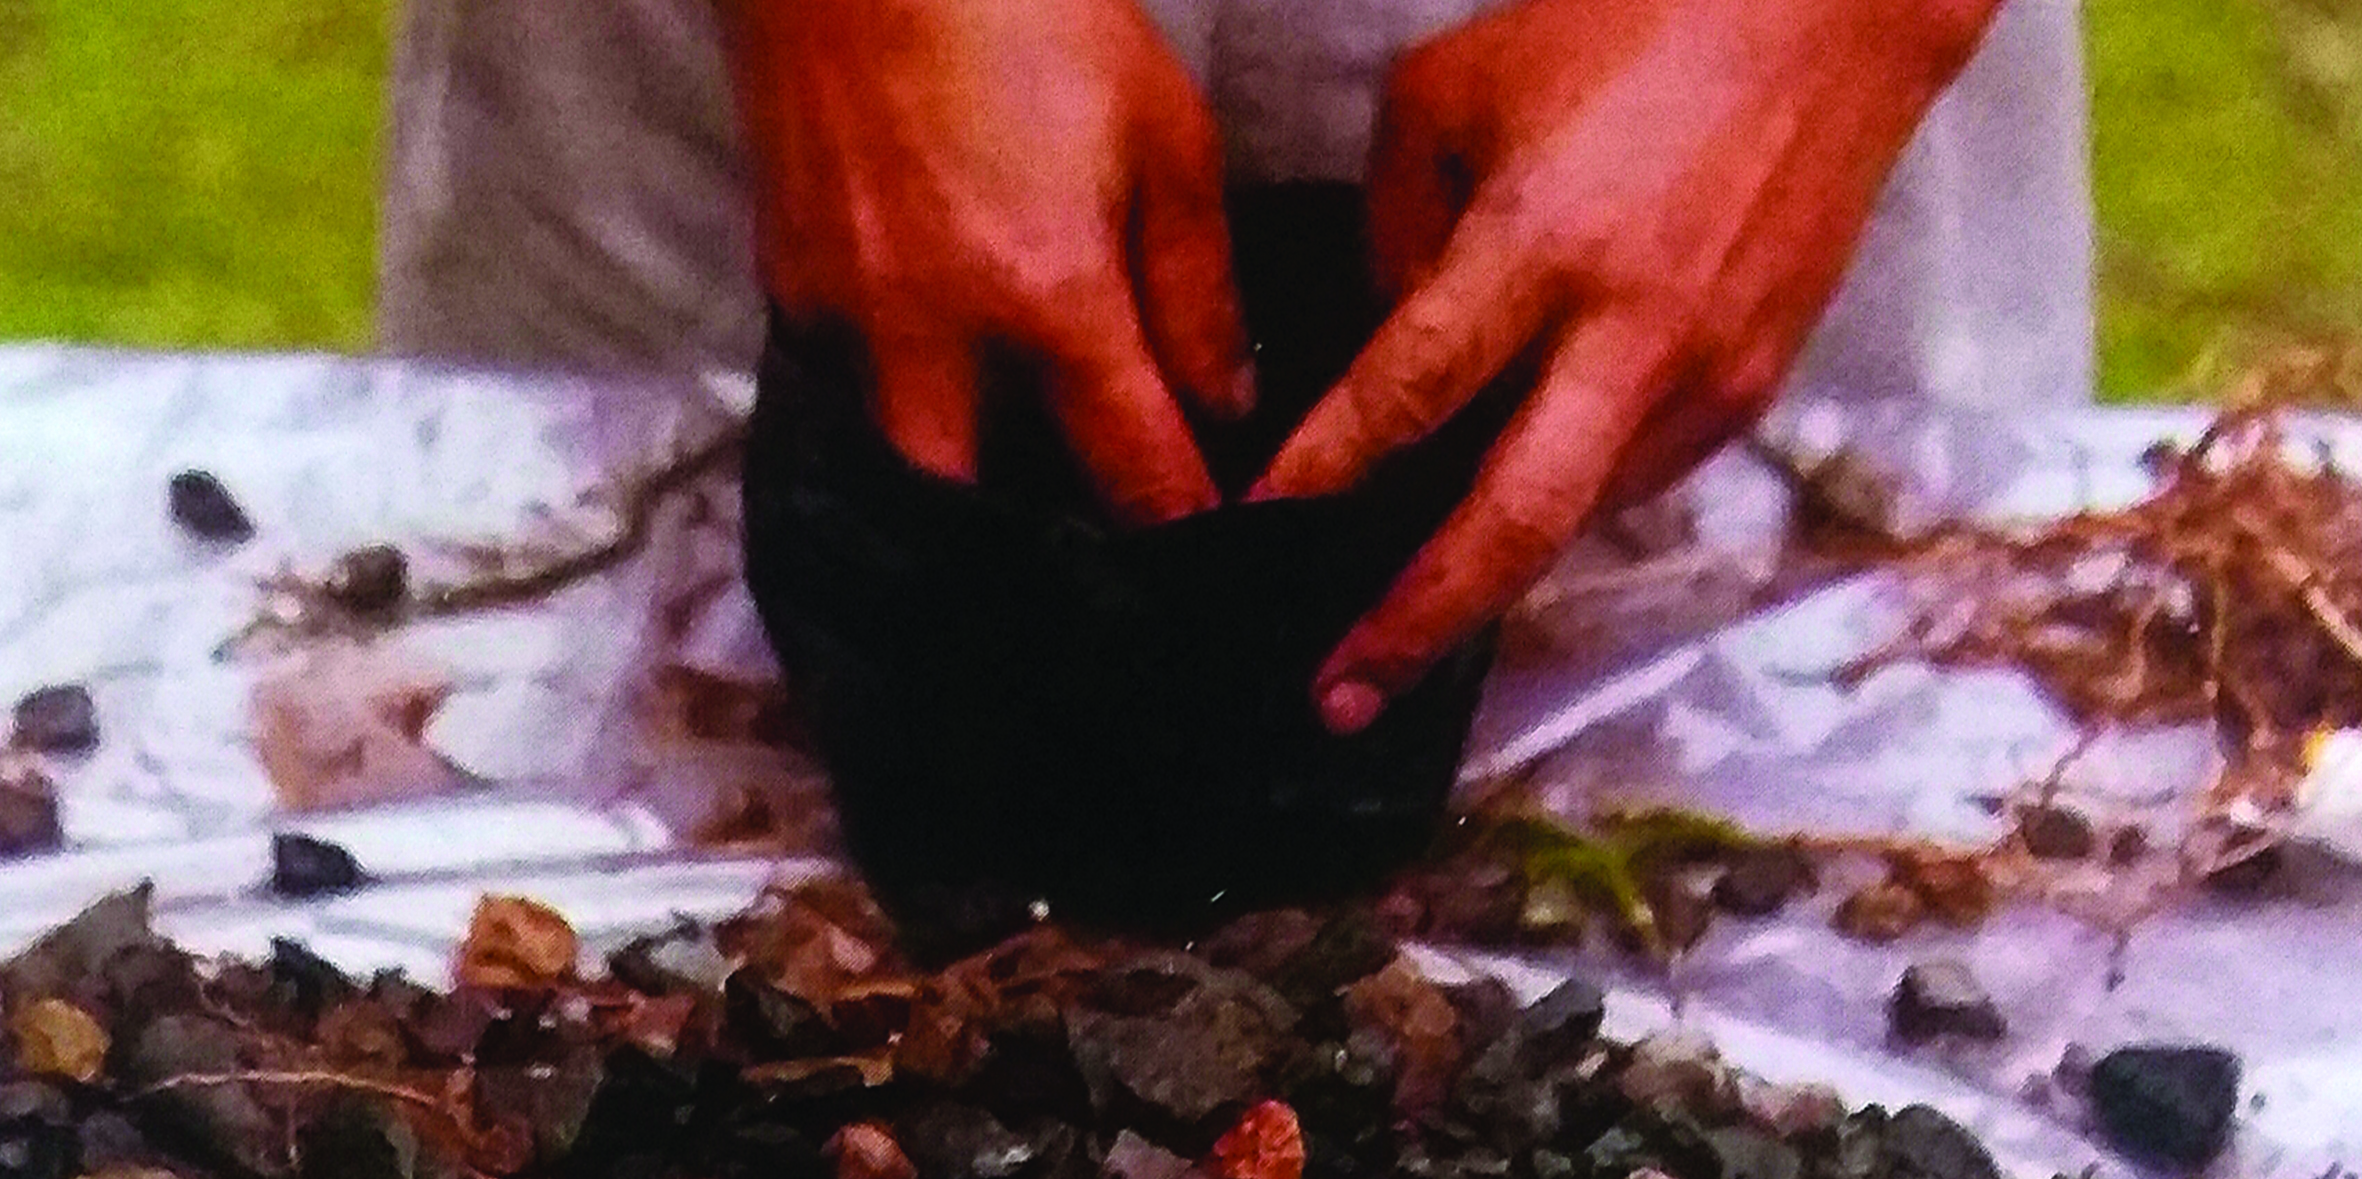
 (5) Only orchid plants with healthy roots should be planted (6) Slow release fertiliser (1 tsp per plant) should be spread evenly around the planting bag
Other maintenance
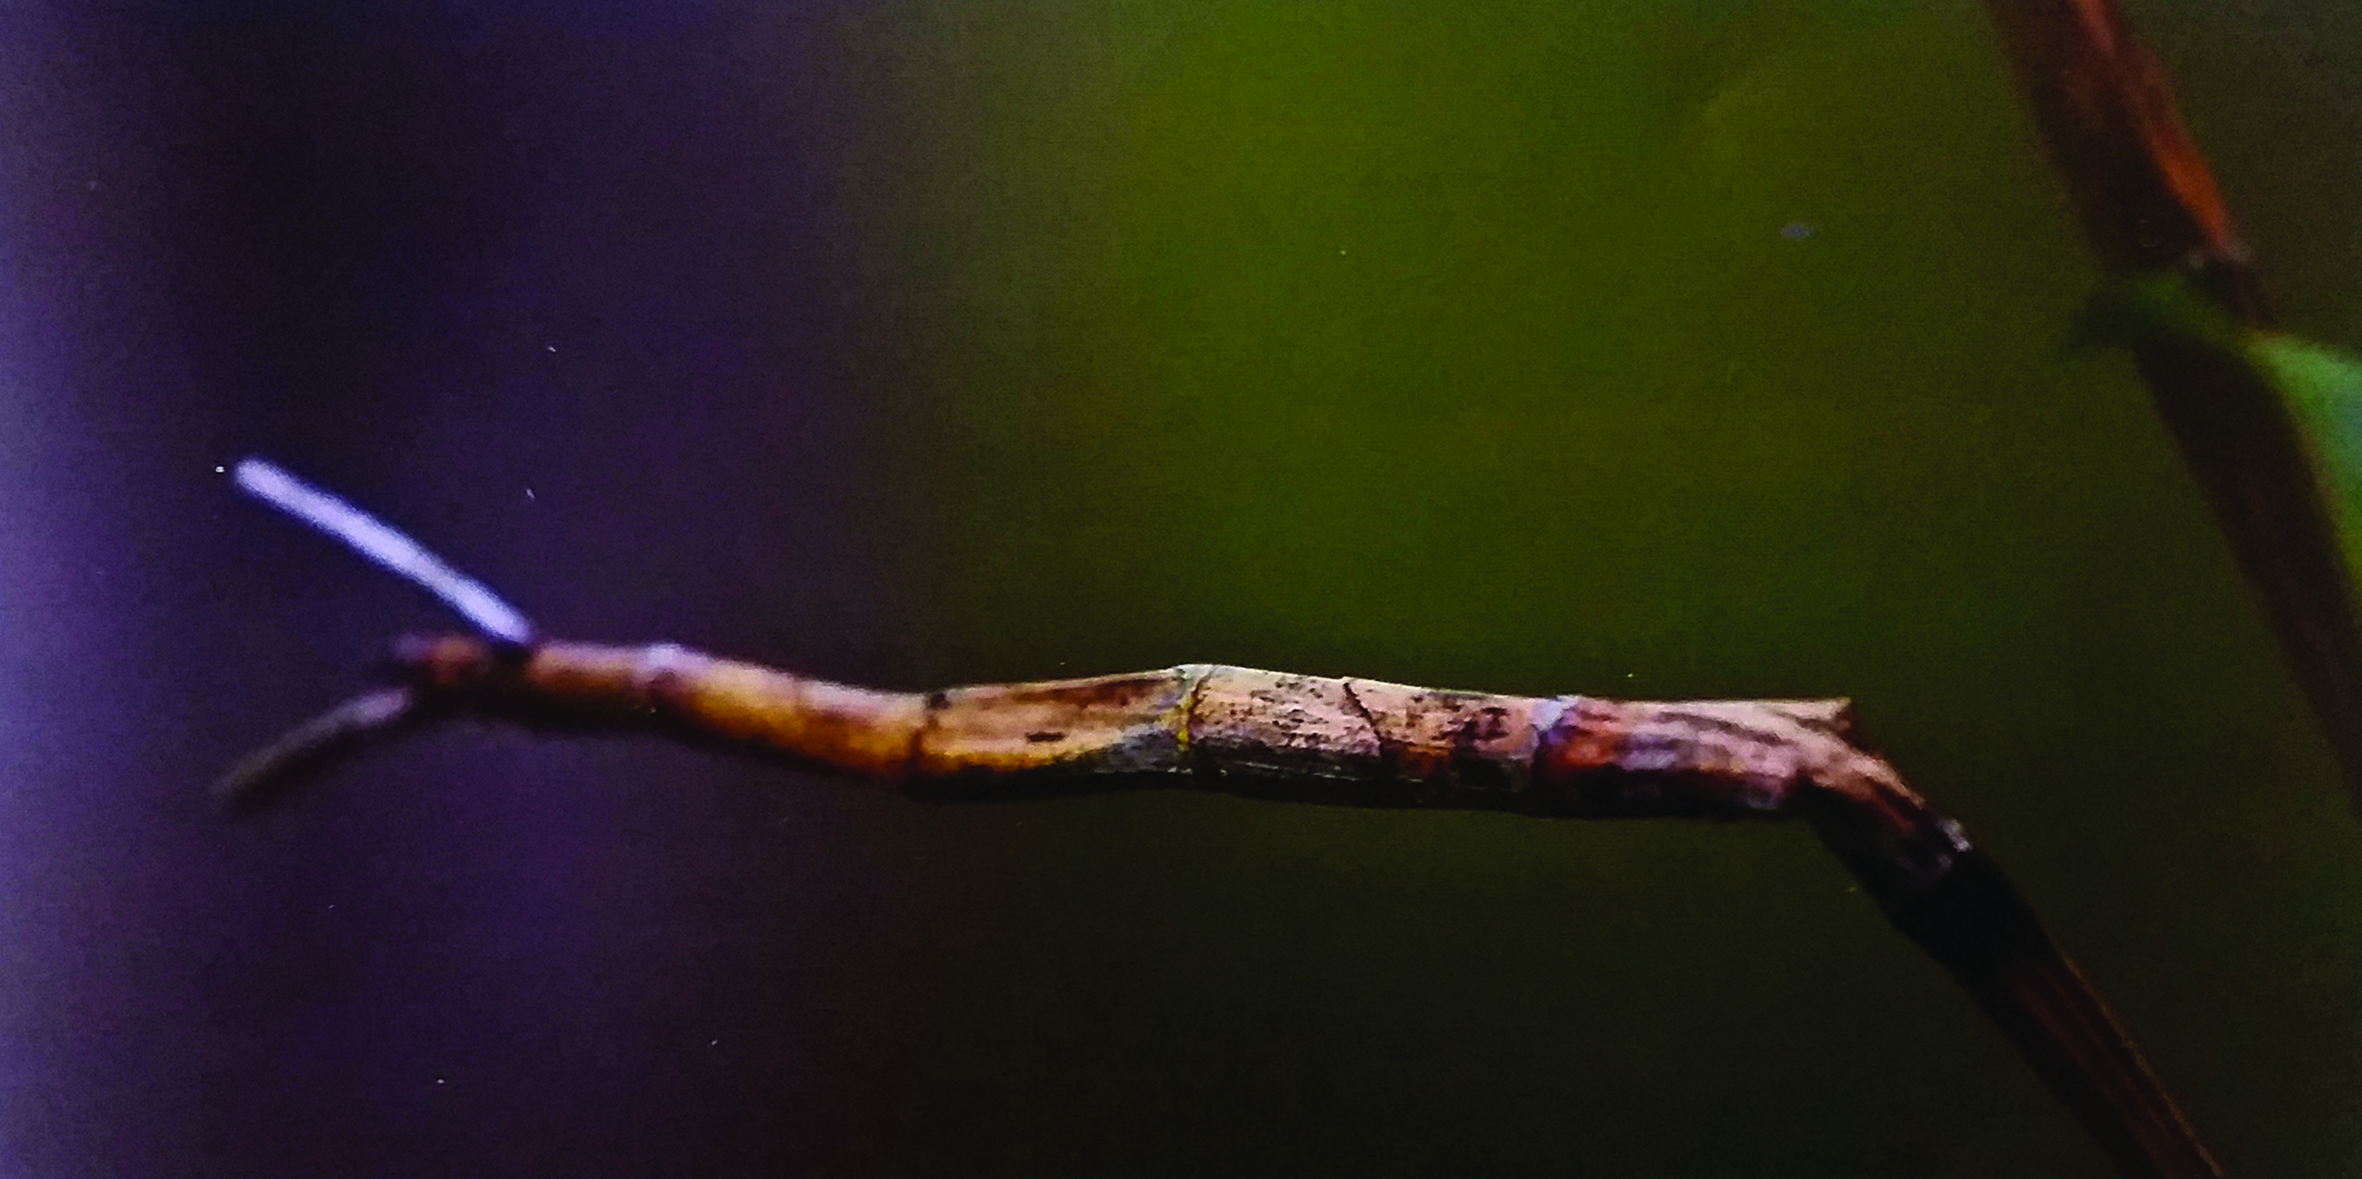
As your orchid plants get older you need to prune off dead or dying canes. These canes should be disposed by burning. Pruning will increase your flower yields, but remember to use a clean knife or scissors. It is important to understand that naturally, dendrobium orchids can lose their leaves when they go dormant but this does not mean that the cane is dead or dying. Only prune cranes that are brown can easily be cracked.
It is important to control the size of your orchid plants so that they don’t get overgrown. A plant that has overgrown its bag will give you less flowers and many become sickly. When a plant fills a #5 PB (planter bag), it can either be divided as a described above or simply moved up to a larger #8 PB.
Checking your plants
To find pest, disease, and nutrient problems you should check the leaves, roots and flowers of your orchid plants. Things that you should look for are color changes, visible damages and unhealthy looking plants. Dendrobium leaves should be light green for maximum yield. While dark green leaves and thick canes look healthy, it is a sign of too much fertilizer and you can expect to get less flowers. Check your plants for rotted roots, yellowed or spotted leaves or flowers, blemishes on the leaves and browning of roots. Always check that orchid bags are draining properly.
The orchid borer will lay its eggs in the cane of the orchid and when the grub hatches, it will eat its way through the cane. This is the most significant pest in dendrobiums and must be controlled with a systemic insecticide like orthene
Dealing with pests and diseases
Regular checks of your orchid plants and good cleanliness are the best way to stay ahead of any pest and disease problems. There are a number of pests and diseases that affect dendrobium orchids and information is available through South Sea Orchids.
Cleanliness means keeping your shade house free of fallen leaves, flowers, dead and diseased canes and weeds. There should be a weekly programme for removing all these items as thus us where the diseases and pests hide. Once removed, they should be burnt. Don’t let outsiders into the shade house. You should not bring in any other plants into your shade house.
An orchid working table at South Sea Orchids has all the required disinfectants to stop the spread of diseases
Once you have determined that you have a serious pest or disease problem, further action needs to be taken. Chemical methods are available and effective if used correctly. Remember to identify what is affecting your orchids and when using a pesticide, remember to follow the directions very carefully and use protective clothing.